Who can access Teams?
To ensure that all users can always identify team ownership, Teams will be managed at the organizational level rather than at the account level.
- Read Access: All users have read access to Teams, including metadata such as contact information, team members, and other relevant details.
- Modify Teams: Users with the Organization Product Admin role can modify Teams. This is a new role assigned to all users who currently have the All Product Admin role.
- Create & Delete Teams: Users with Organization Manager or Authentication Manager roles can create and delete Teams.
Tip
To enable additional users to create and delete Teams without granting them the Organization Manager or Authentication Manager roles, you can create a custom role. Please ensure that the permissions are scoped to your org and not to an account.
Create Teams
팁
If you prefer to create Teams programmatically, you can also create Teams with our NerdGraph API.
Create a Team manually
We recommend this option if you don't already have Team and service ownership data elsewhere.
- Go to All Capabilities > Teams.
- Click Build manually.
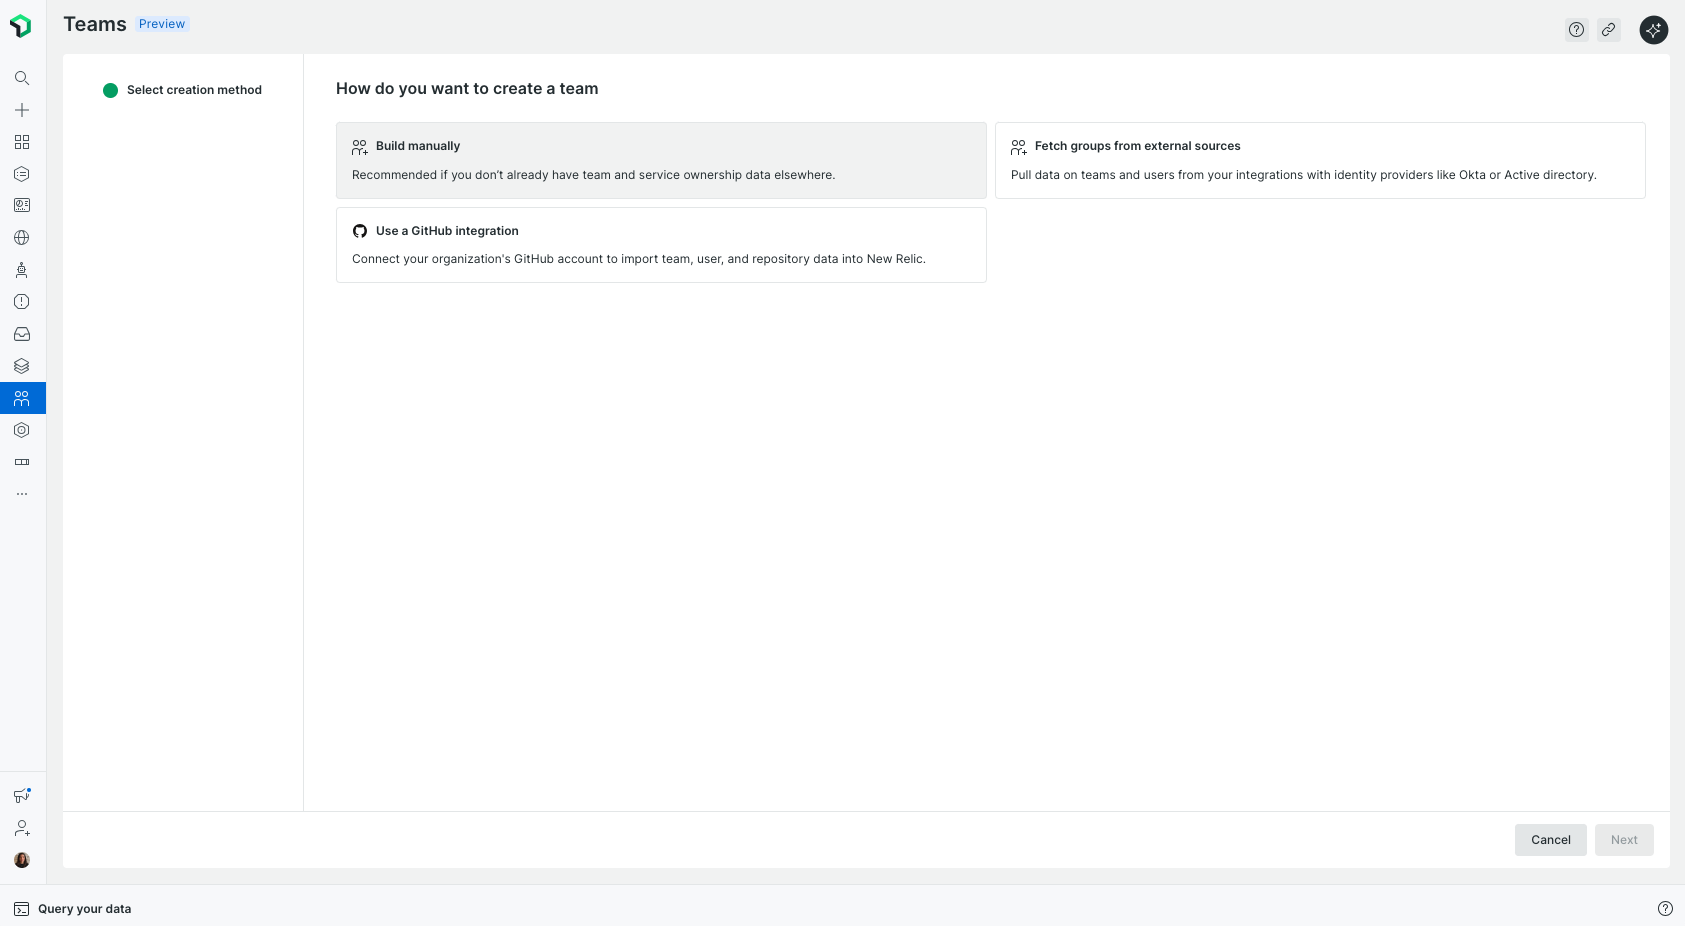
- Enter a team name.
- (Optional) Add a Description and Aliases.
- (Optional) Add Team members.
- (Optional) Set Parent or Nested Teams (Hierarchy): To place this team within your organizational structure, select a parent or nested child team from the configuration menu.
- Note: You can also manage these relationships later via the Settings tab within the specific Team Hub.
- Click Create team.
Create Teams from GitHub teams
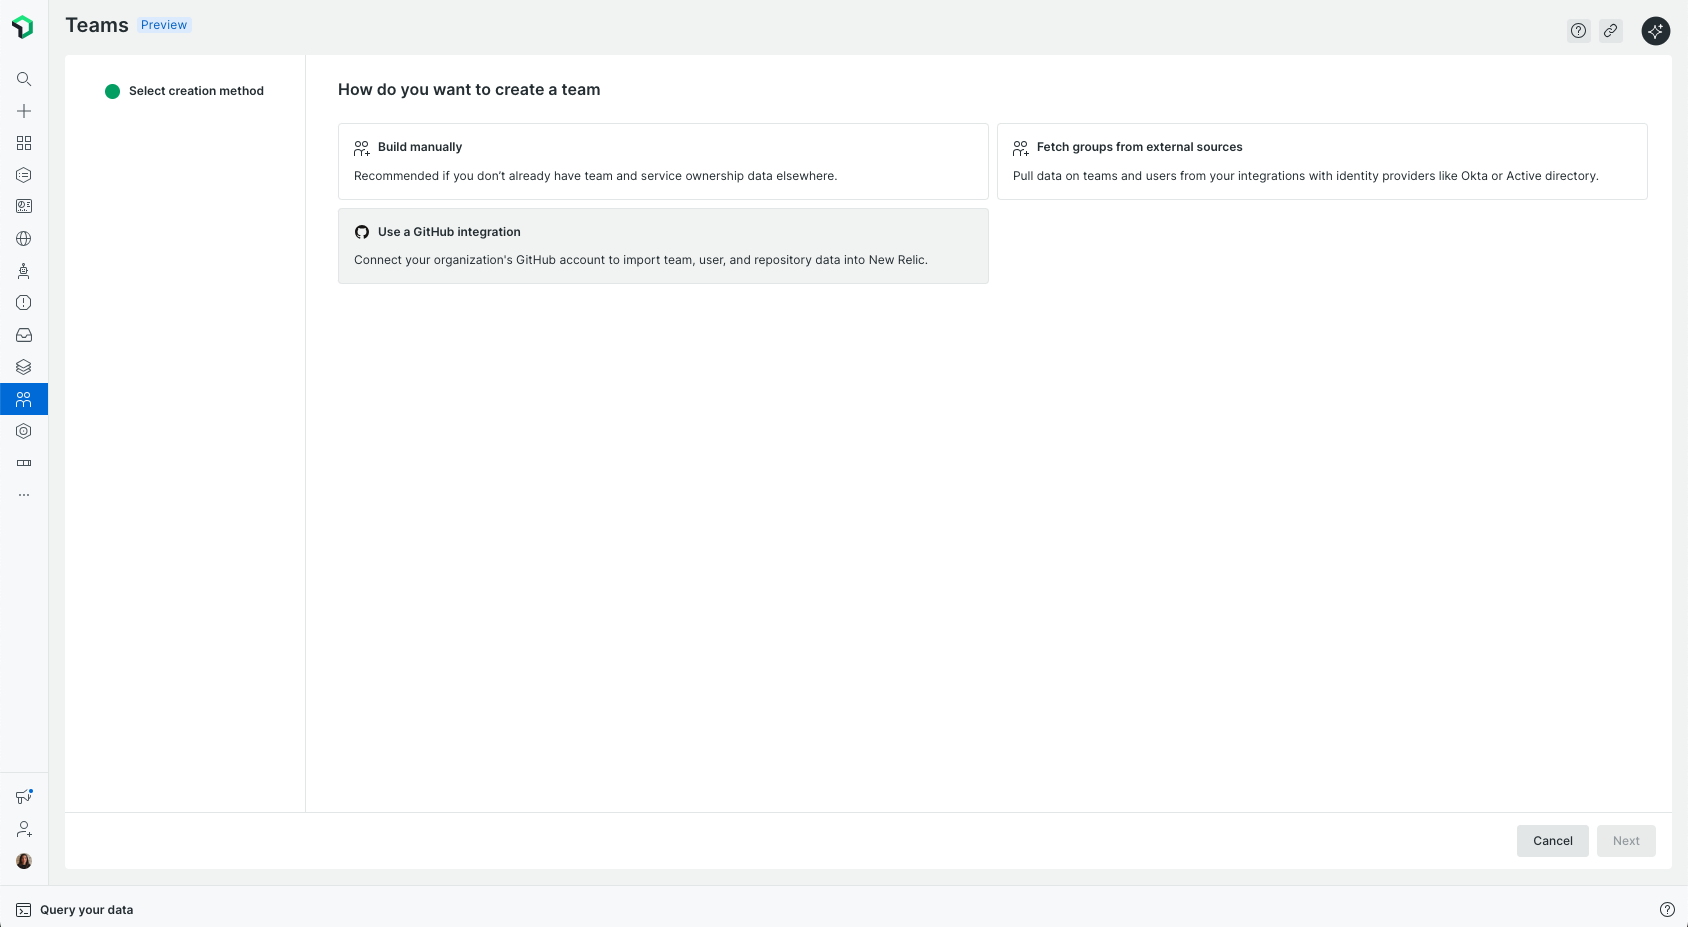
We recommend this option if you want to keep your New Relic teams synchronized with your existing GitHub teams. For more details on setting up the integration, see GitHub Cloud integration.
- Go to All Capabilities > Teams.
- Click Use a Github integration. You will be redirected to the GitHub integration configuration page.
Create Teams automatically from Your identity provider
To streamline team management and align New Relic with your organizational structure, you can automatically create and sync teams from your identity provider (IdP), such as Okta or Active Directory.
Prerequisites
- Ensure that you're assigned a user role that includes
authentication_domain.read.groupspermissions.
Do the following to set up automatic team creation from your IdP:
Set Up Groups in Your IdP.
- Begin by creating groups in your IdP that represent the teams you want to manage in New Relic. For example, you might create groups like team_backend, team_frontend, or team_data.
Sync groups via SCIM.
- Use the SCIM protocol to synchronize your IdP groups with New Relic. This allows New Relic to recognize and manage these groups dynamically.
Configure Team Creation in New Relic After your groups are synced.
- Navigate to All Capabilities > Teams in the New Relic UI.
- Click Fetch groups from external sources.
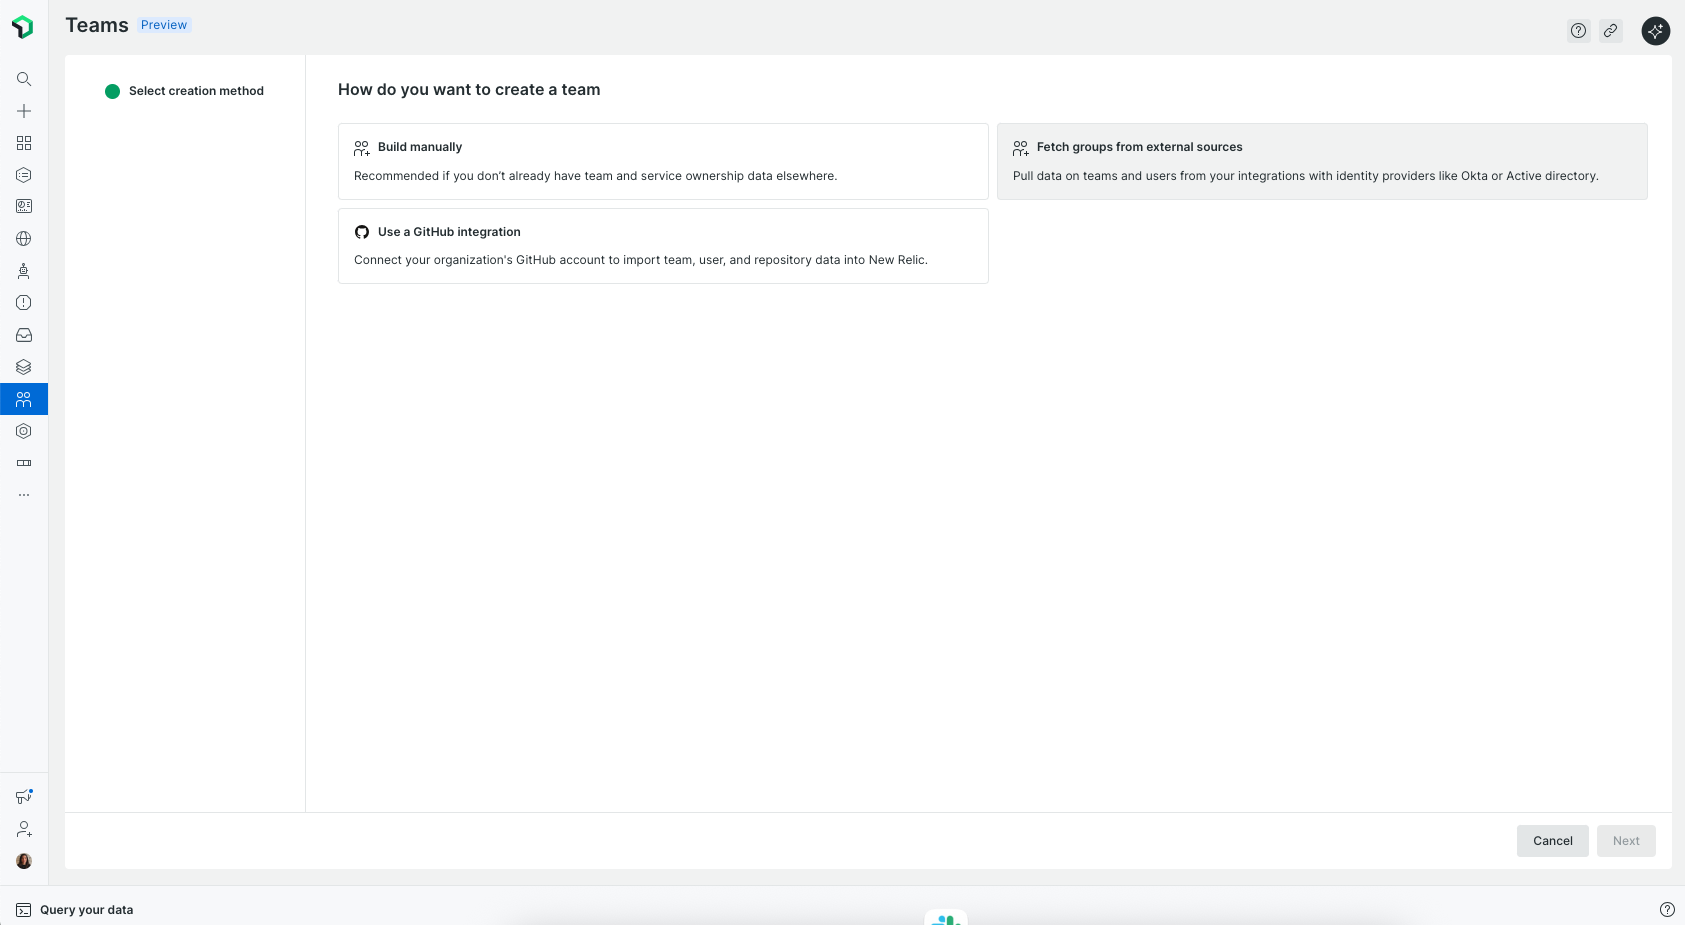
- Choose Automate with a rule to translate groups into teams.
- Add a rule to match group names. For example, create a rule that applies to any group name starting with ‘team_’.
- Click Create rule. You can see your teams in the New Relic UI.
Note: If your group names don’t follow a clear pattern, you can choose to select the relevant groups manually instead of using a rule.
After setting this up, New Relic will automatically create and maintain teams that match your rule, keeping them synced with your IdP as changes occur, no manual updates needed.
Manage Team hierarchies
Team hierarchies allow you to organize your teams into a parent-child structure that reflects your company’s actual organizational structure.
To manage team hierarchies, ensure that you're assigned a user role that includes teams.manage.organization_settings permissions.
How to manage relationships
Because hierarchies are currently supported only for teams created manually or via API, you can manage these relationships in two ways:
- During creation: Use the Parent Team and Nested teams dropdowns when building a team manually.
- Existing Teams: Navigate to the Team Hub for any team, go to the Settings tab, and update the Parent Team or Child Teams fields.
Tip
A team can have multiple Child Teams, but it can only have one Parent Team. If you change a Team's parent, it will be moved entirely to the new branch of the organizational tree.
Define a team manager or on-call member
To establish leadership and operational visibility within your teams, you can designate specific individuals as the team manager or the on-call contact:
- Go to All Capabilities > Teams.
- Navigate to the Team Hub of the desired team and click Settings.
- In the Members tab, select the team member you wish to designate and assign them the role of Manager or On-call.
중요
Any user designated as a manager or on-call contact must first be an added member of that specific team. A team can have more than one manager and more than one on-call member.
Once defined, a Manager or On-call badge will be visible across the hierarchy view, providing a clear and immediate point of contact.
Hierarchy automations
The structure of your organization is calculated dynamically. As soon as a relationship is established by assigning a parent team to a child team, the depth of your structure is updated automatically.
These background automations parse the parent-child links to instantly determine if a team sits at Level 1, Level 2, or deeper within the tree. This ensures that your hierarchy remains accurate in real-time as you move or reassign teams.
Customize hierarchy levels
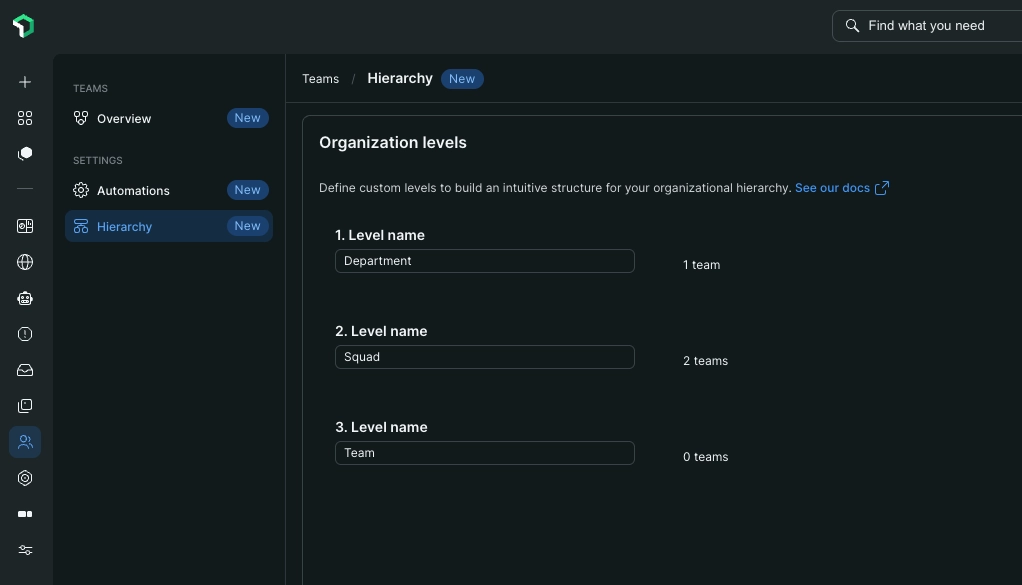
By default, hierarchy levels are labeled as "Level 1," "Level 2," and so on. To better align with your organization’s terminology, you can customize these labels:
- Renaming Levels: If you prefer "Division," "Department," or "Squad" over generic numbers, you can rename them by navigating to Teams > Hierarchy.
- Global Application: Changes made here apply across the entire organizational view, ensuring consistent terminology for all users.
중요
Only users with the Organization Manager or Authentication Manager roles, or custom roles with the teams.manage.organization_settings capability, can access the hierarchy settings.
Customize the Team Hub
The Team Hub page is customizable. Teams can tailor the layout by adding or removing widgets to match their workflow. Any changes made to the Team Hub layout apply to all members of the team.
To customize your Team Hub, navigate to your team’s hub page and click Edit layout to enter edit mode. From here you can:
- Add or remove widgets: Click Manage widgets, select or deselect the widgets you want to show, and click Apply.
- Rearrange widgets: Drag and drop widgets to the desired position.
- Resize a widget: Drag the resize handle on the widget’s edge.
- Reset to default layout: Click the ... icon and select Reset layout to default.
Click Done editing to save your new layout. All team members will see the updated layout.
Power the Team Hub productivity widgets
The Team Hub includes productivity widgets for Deployment frequency, Mean Time to Recovery (MTTR), Change Lead Time (CLT), PR cycle times, and open pull requests. For an overview of what each widget displays, see The Team Hub. This section covers the data requirements to power each one.
Productivity metrics
Deployment Frequency
Requirement: The team must own APM entities with linked deployments via Change Tracking.
Change Lead Time (CLT)
Requirements:
- The team must own APM entities with linked deployments via Change Tracking.
- The team must own Git repositories via the GitHub integration. Linked pull requests are used in the calculation.
Mean Time to Recovery (MTTR)
Requirement: Entities must be correctly assigned to your team so that alert data can be attributed. See Configure entity ownership.
PR Cycle Time
This widget breaks the pull request lifecycle into four stages:
| Stage | What it measures |
|---|---|
| Time to open | Duration from first commit to PR creation |
| Time to first review | Duration until the first comment, change request, or approval |
| Time to approve | Duration until final approval is granted |
| Time to merge | Duration from approval to final code integration |
Requirements: Active GitHub integration and team ownership of the relevant repositories.
Open PRs
Requirements: Active GitHub integration and team ownership of the relevant repositories.
Setup requirements summary
| Step | What to configure | Widgets affected |
|---|---|---|
| Change tracking | Own the APM entities where deployments are recorded | Deployment Frequency, Change Lead Time |
| GitHub integration | Own the Git repositories associated with your code | Change Lead Time, PR Cycle Time, Open PRs |
| Entity mapping | Assign all relevant entities to your team | MTTR |
팁
To verify your team's entity ownership, navigate to your Team Hub and open the Entities tab. For step-by-step instructions, see Configure entity ownership.