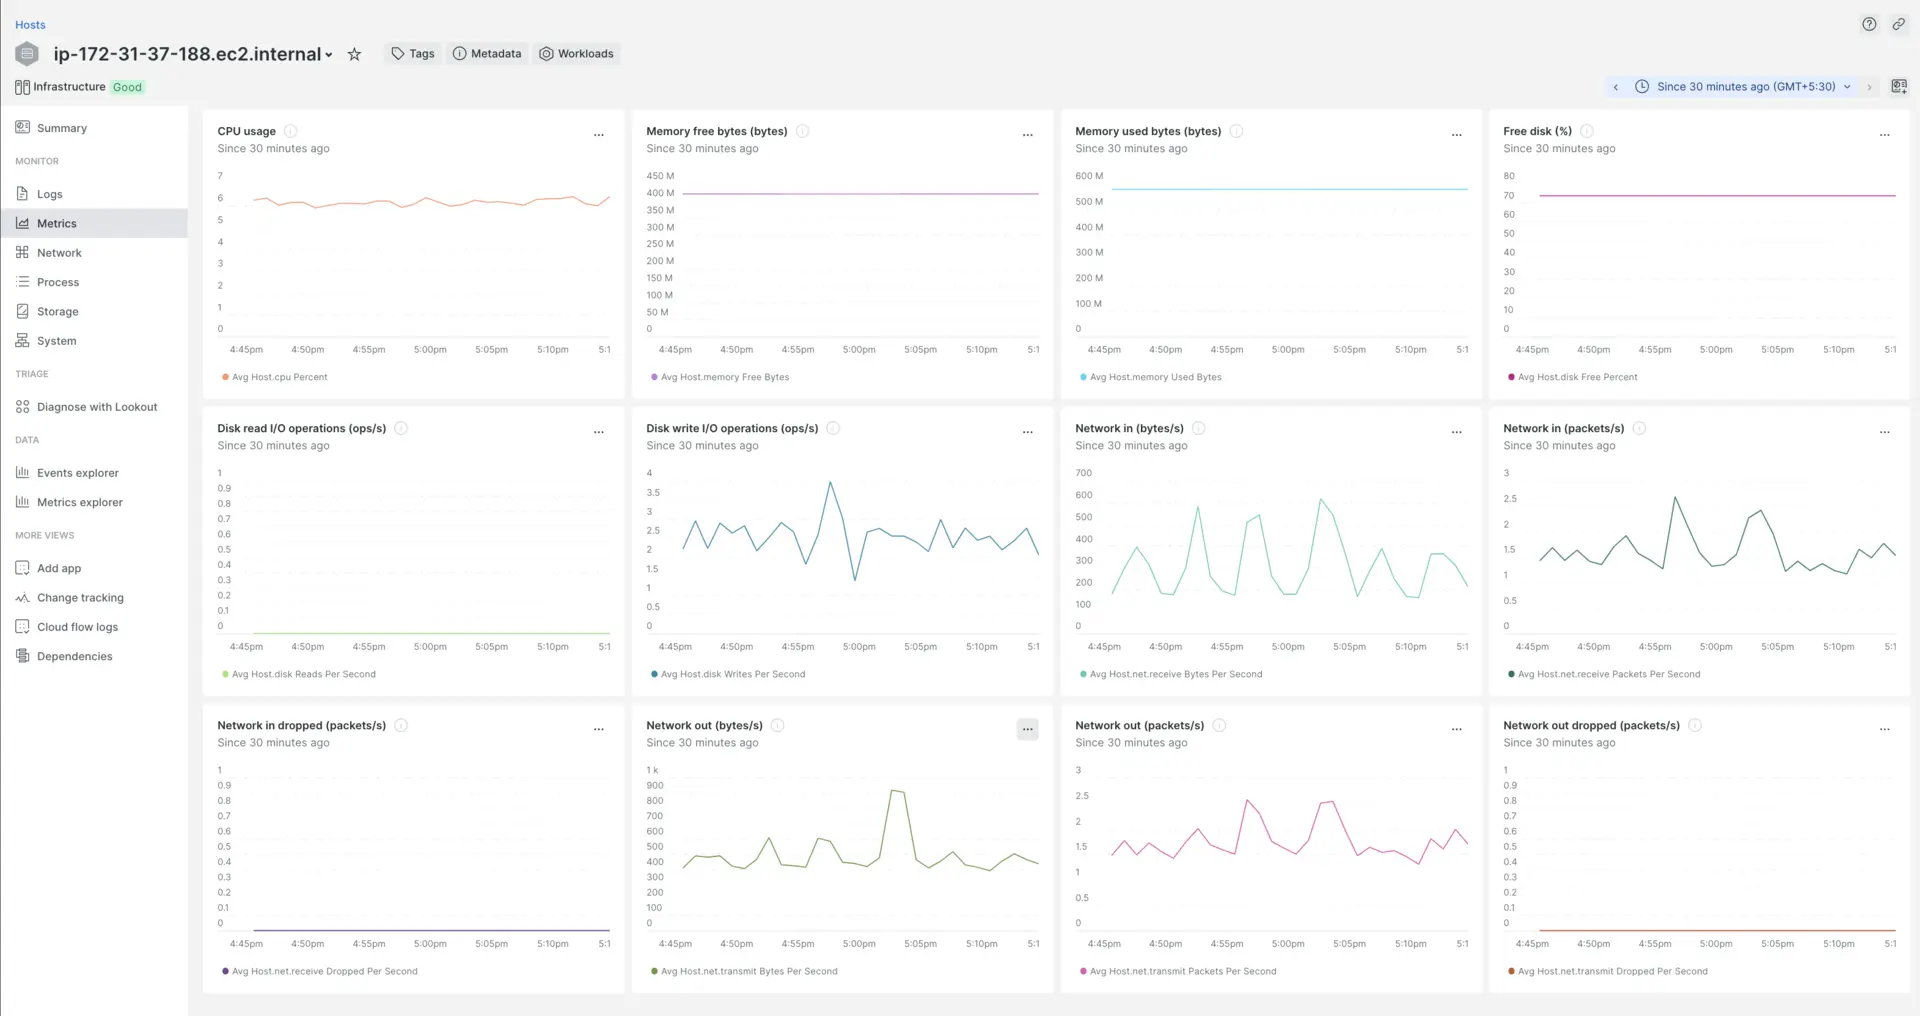
This documentation provides step-by-step instructions on how to install the New Relic Extension on an Azure arc connected machine using the Azure command-line interface (Azure CLI).
Prerequisites
Before you begin, ensure that you have:
- Azure CLI installed on your local machine.
- Azure arc connected machine set up and registered in your Azure subscription.
- Permissions from either the Azure subscription owner or contributor roles that enable you to manage resources in the specified resource group.
Installation Steps
Open a terminal or command prompt
Connect to your Azure subscription and execute the following steps through the Azure CLI.
Run Azure CLI Commands
Enter the following commands in your terminal to install the New Relic agent on your Azure arc connected machine:
For Linux-based machines:
bash
$az connectedmachine extension create \> --resource-group "your-resource-group" \> --machine-name "your-machine-name" \> --location "your-location" \> --name NewRelicAgent \> --publisher newrelic.infrastructure.extensions \> --type newrelic-infra \> --settings '{ "NR_LICENSE_KEY": "YOUR-NEW-RELIC-LICENSE-KEY" }'For Windows-based machines:
bash
$az connectedmachine extension create \> --resource-group "your-resource-group" \> --machine-name "your-machine-name" \> --location "your-location" \> --name NewRelicAgent \> --publisher newrelic.infrastructure.extensions \> --type newrelic-infra-windows \> --settings '{ "NR_LICENSE_KEY": "YOUR-NEW-RELIC-LICENSE-KEY" }'Replace placeholders like "your-resource-group," "your-machine-name," and "your-location" with your actual resource group, machine name, and location.

